
TECHNIQUES FOR GLUING DOWN THE PICTURES:
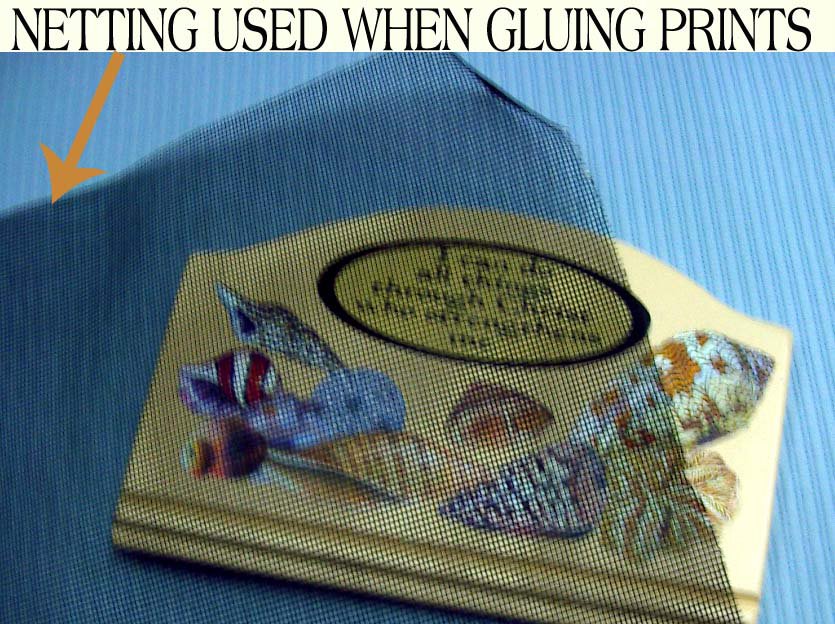
First make a Gluing Screen.
(See illustration above left.)
To make a gluing screen, you can use either a square of soft plastic window screen cut large enough to cover your entire project surface. You could also use nylon net, but with nylon net you will need to make it 2 or 4 layers thick, and stitch around the edges to hold the layers together. Using a screen over your print, and under your roller safeguards against the print getting damaged by the roller sticking to the print and pulling some of the printing ink off the paper and spoiling your picture. It also helps to get a very smooth bond by spreading the glue evenly under the print with little risk of damaging the print.
Sticking the prints down.
Using Decoupage Paste made according to the recipe below, Apply a generous amount to the back of your print. Take your time and allow the paper to soak up the glue. After the paper has soaked up enough glue to satisfy it's hunger, you must have enough excess to adhere to the item you are working on.
Place the glued print, glue side down on your project, and gently position it where you want it to be. Place the gluing screen over it and rub the print from centre to the edges (through the screen). When you are happy that there are no very large air bubbles remaining between the object and the print remove the gluing screen, take a damp sponge and gently remove any excess glue that has seeped out from under the print. Replace the screen and use a rubber roller and start rolling the print back and forth until it is absolutely and completely flat. Keep checking and rolling, check and roll. Do not rush this process as some paper tends to "pop up" if the glue has not taken hold properly. I usually roll my prints down for about a minute or more.
Prints may be layered one on top of the other to form your design. You can keep adding prints until you are happy with the results. This is where having lots of cut designs on hand is really good. That way you do not have to go back to cutting before completing your gluing session.
MAKING YOUR OWN DECOUPAGE PASTE
To make your own decoupage paste, used 3 parts of Clag Paste to 1 part of PVA glue which is the same as white glue, or Elners white glue.
MASTERING THE ART OF CUTTING
Beautifully cut prints will enhance the loveliness of your finished work. Poor cutting cannot be remedied so practice your cutting often. Try to cut every day. If you have nothing important to cut, try junk mail or magazine pictures. Start with simple designs and as you gain confidence tackle more difficult ones.
ORDER OF CUTTING
Cut out all the internal blank parts of the design first. This gives you more area to hold on to and allows more control. When cutting these inner bits cut in a clockwise direction. Start the cut by poking a hole through the middle of the area then insert the point of the scissors into the print from the back. The printed surface should be facing you, the scissors under the print.When all the inner bits have been removed, cut around the outer edges working in an anti-clockwise direction.
When cutting delicate bits that would tend to bend and maybe even break off, it is a good idea to cut “bridges” to help hold the cutting in shape until you are ready to paste it on your object. Draw them in with a dotted line before you begin the actual cutting. This helps you not to forget to cut in the bridge. You can use as many bridges as you feel comfortable with.
Cut away the bridges just before applying the paste or alternatively, and especially if the print is very fragile, apply the glue to the object, then place the dry cut print on the glued surface and gently wipe away the excess.glue with a damp sponge. It is a good idea to have about a dozen or so small pieces of sponge previously dampened and on hand when using this method. As you use each piece, put it into a container of water so the glue does not dry and spoil the sponge. At the end of the project wash the sponges out ready for the next project.
CHOOSING AND TAKING CARE OF YOUR SCISSORS
The more accurate you cut, the better your finished work will be. To achieve the best results you will need a small scissors with very sharp points and curved blades that feels comfortable to hold. A surgical scissors made for cutting the iris is ideal but a good cuticle scissors also works well provided both points are equally sharp. This type of scissors is available from surgical supply outlets, department stores, drug stores or craft supply shops that deal with decoupage. Never share your decoupage scissors with anyone as it moulds itself to your movements and when someone else uses it this gets thrown out of wack.
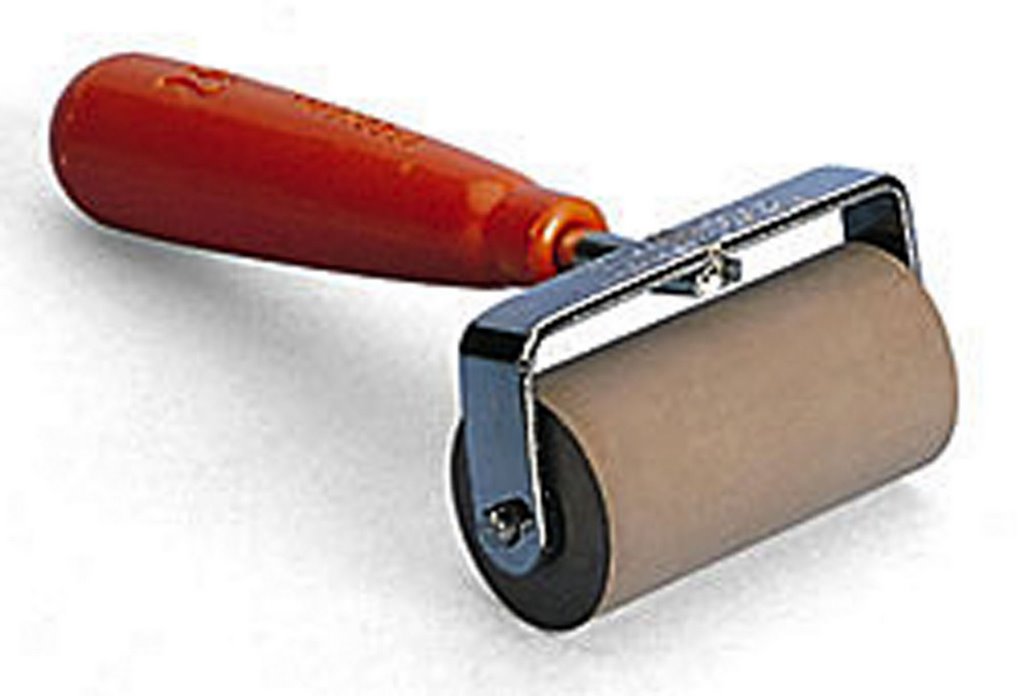
A brayer ... sometimes used to roll the prints flat after gluing.
USING SPONGES TO KEEP THE PROJECT CLEAN
Keep some damp sponges or damp rags handy for wiping off excess glue. Keep using fresh ones after you glue each piece down to avoid damaging your prints.
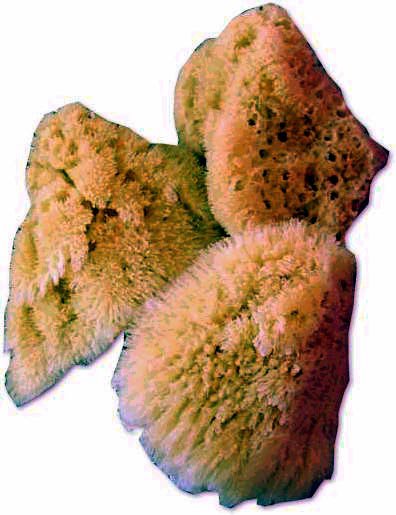 You do not need to use sea sponged. Kitchen sponges will do just fine.
No comments:
Post a Comment
Please note: Spam messages will not be published!